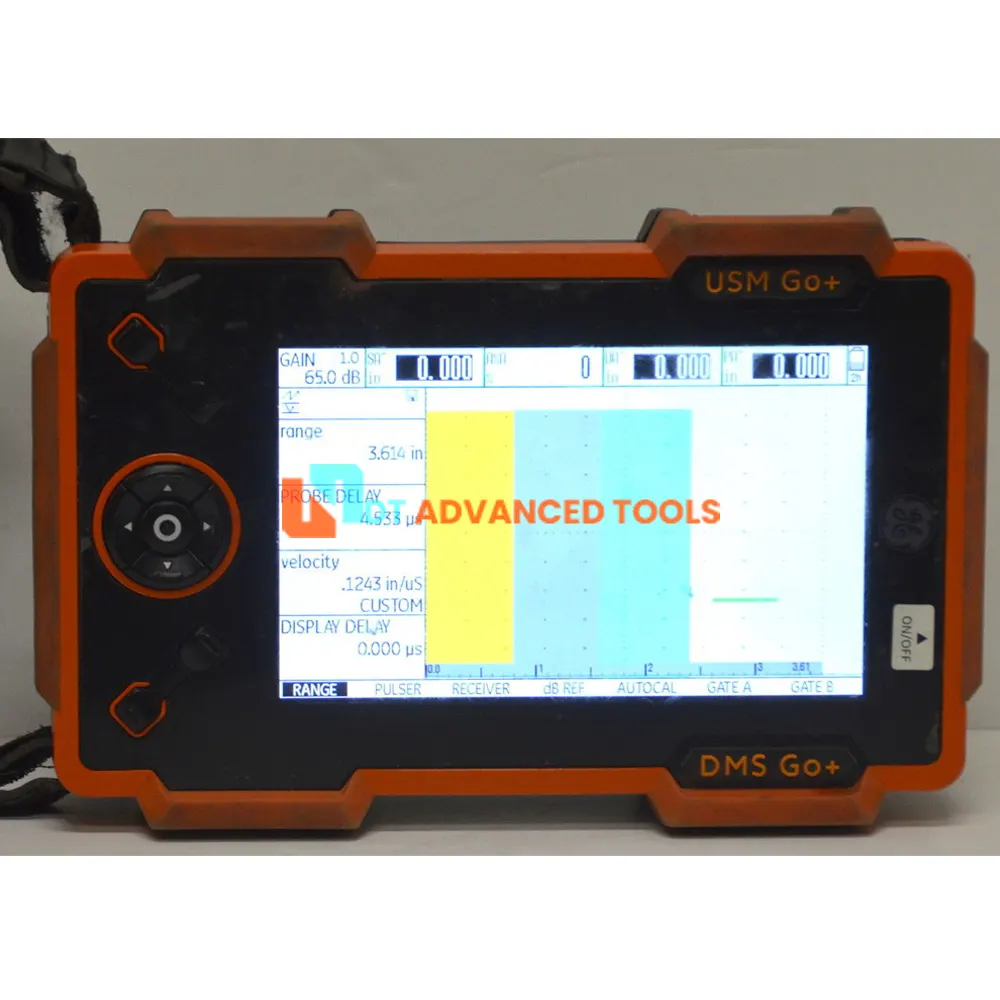
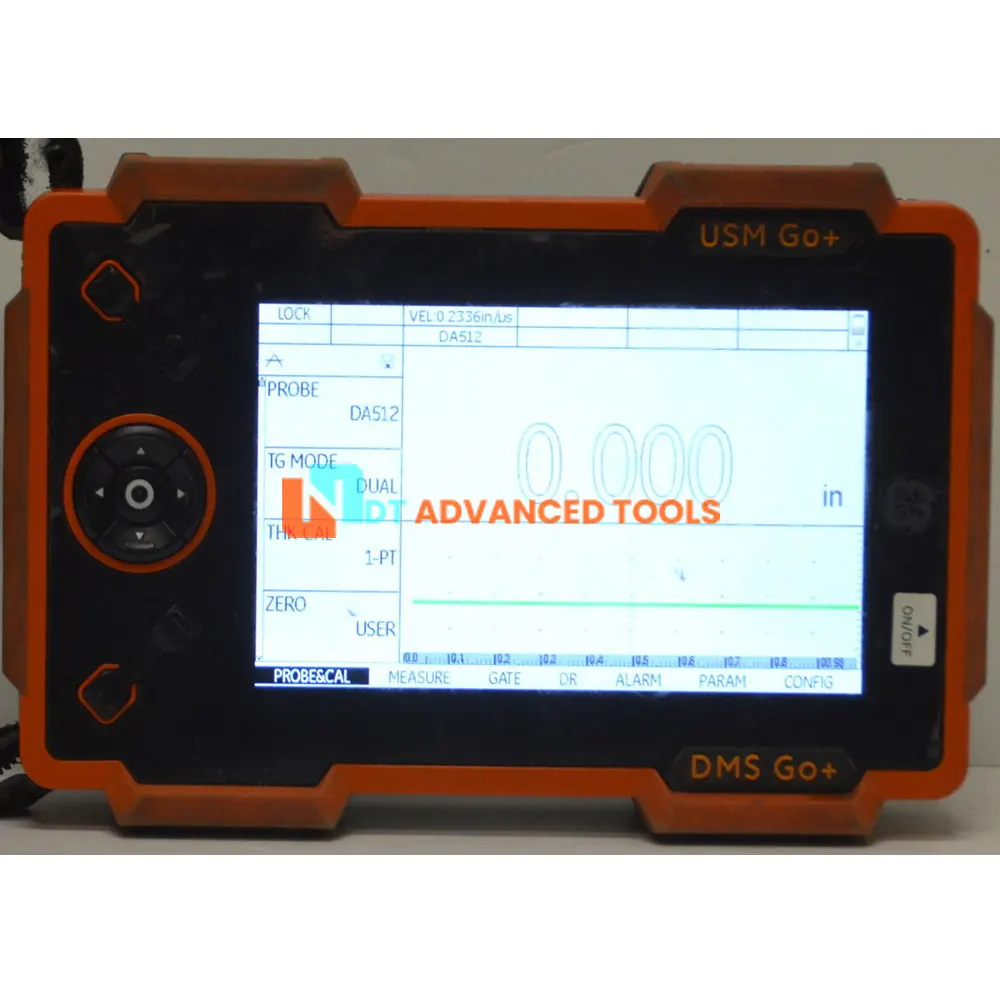
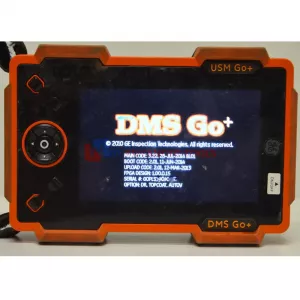
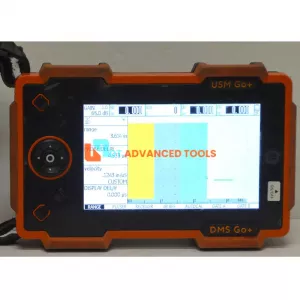
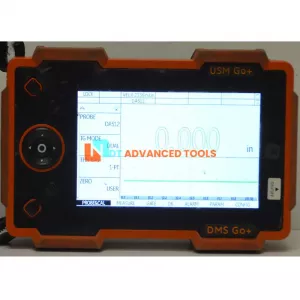
GE Inspection USM Go+ / DMS Go+ Ultrasonic Flaw Detector
Sell used GE Inspection USM GO+ Ultrasonic Flaw Detector and DMS Go+ Thickness Gauges and in one flexible instrument.
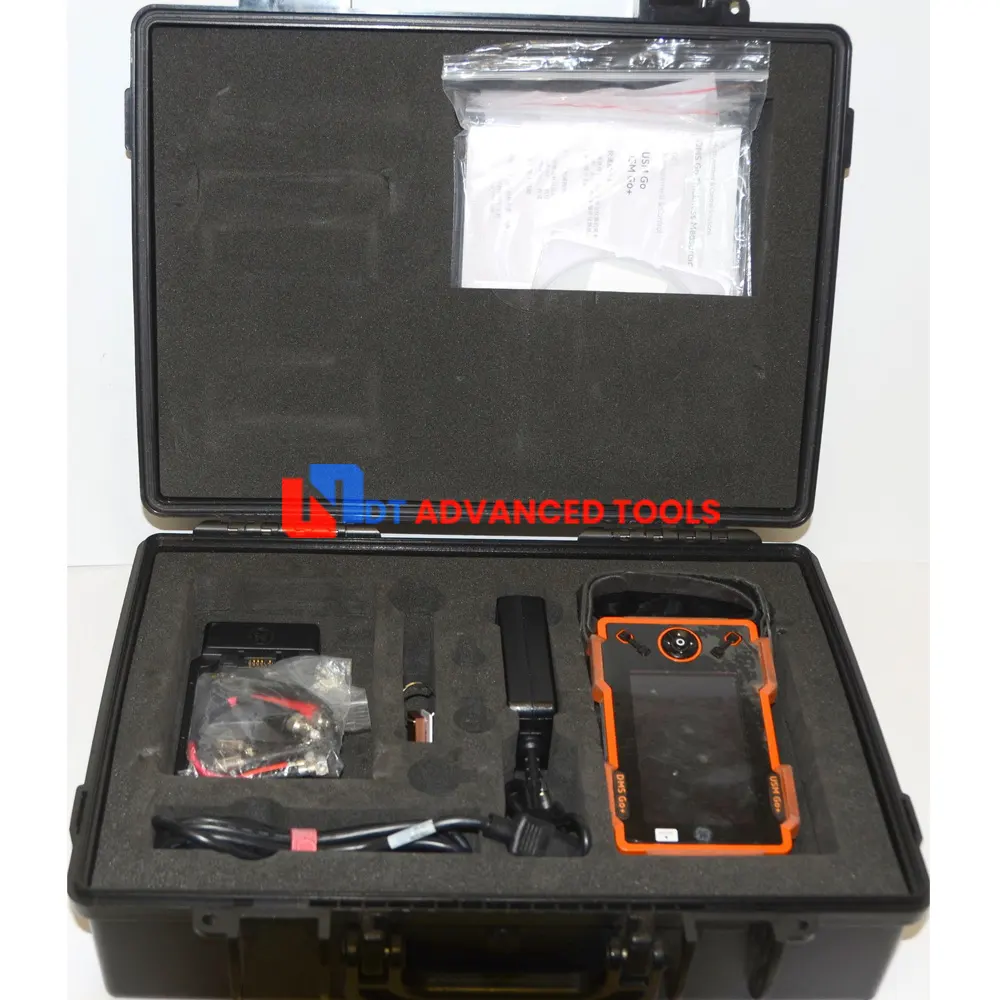
Condition: UsedSell used GE Inspection USM GO+ Ultrasonic Flaw Detector and DMS Go+ Thickness Gauges and in one flexible instrument. Used, Tested and in good working order conditions, comes with a 30-day return available and packages includes:
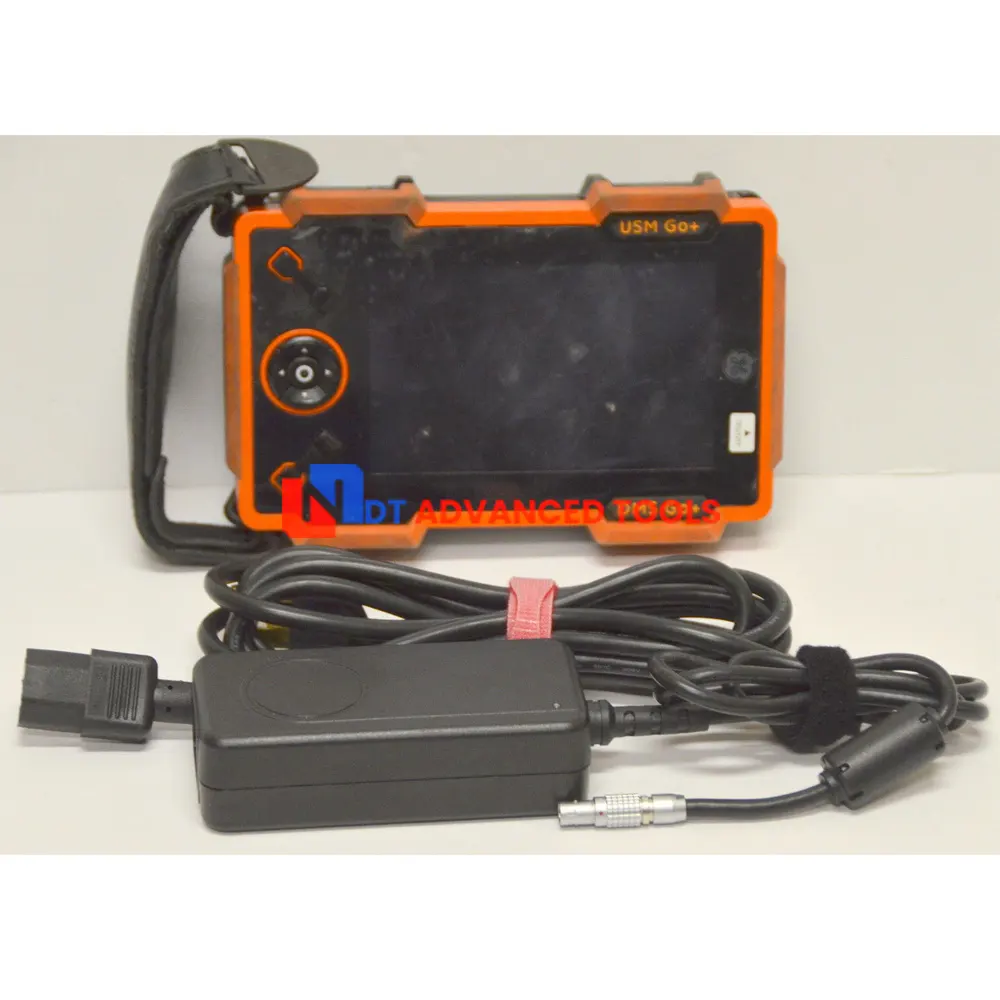
- GE USM GO+ / DMS GO+ unit
- AC adapter/charger
- power cord
- 8GB SD Card
- USB PC interface cable
- Hand strap for unit
- User Manual on CD-ROM
- Hard Case
An upgraded DMS Go+ means that personnel now need to carry only one instrument to perform accurate and reliable thickness measurement and flaw detection.
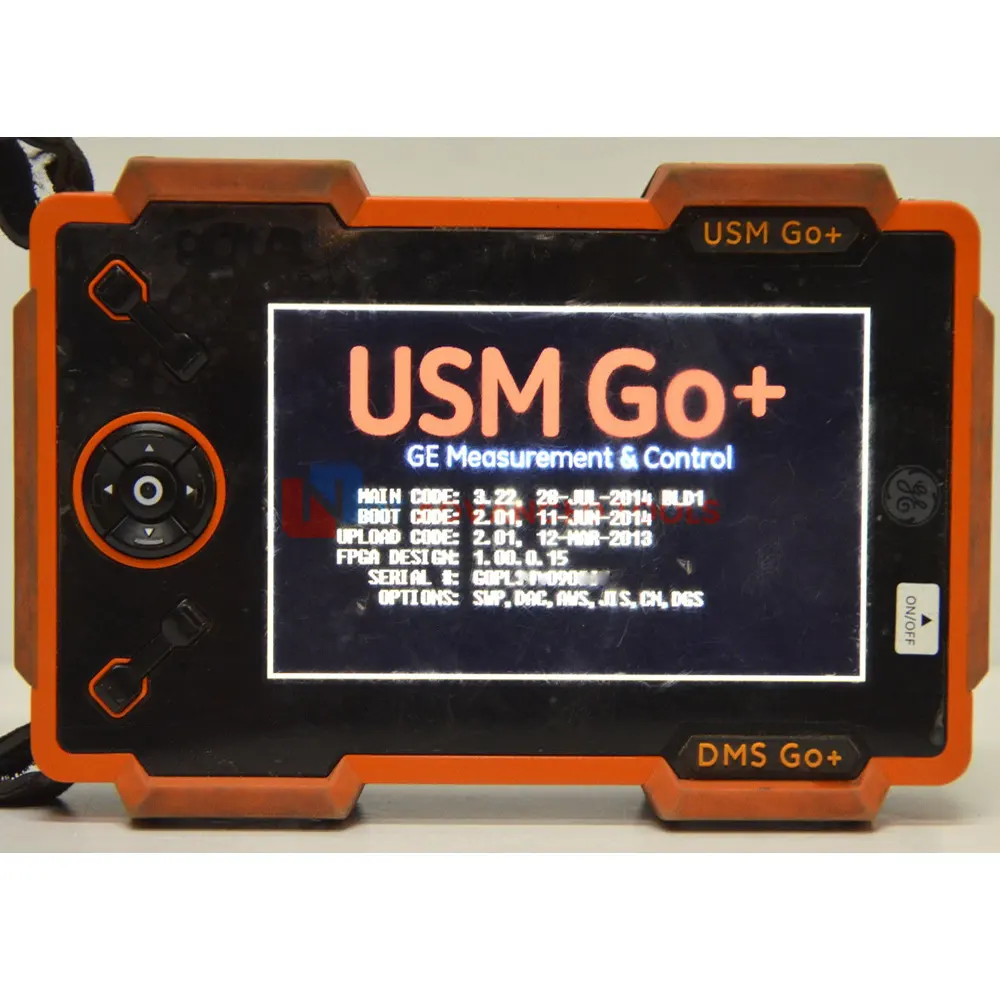
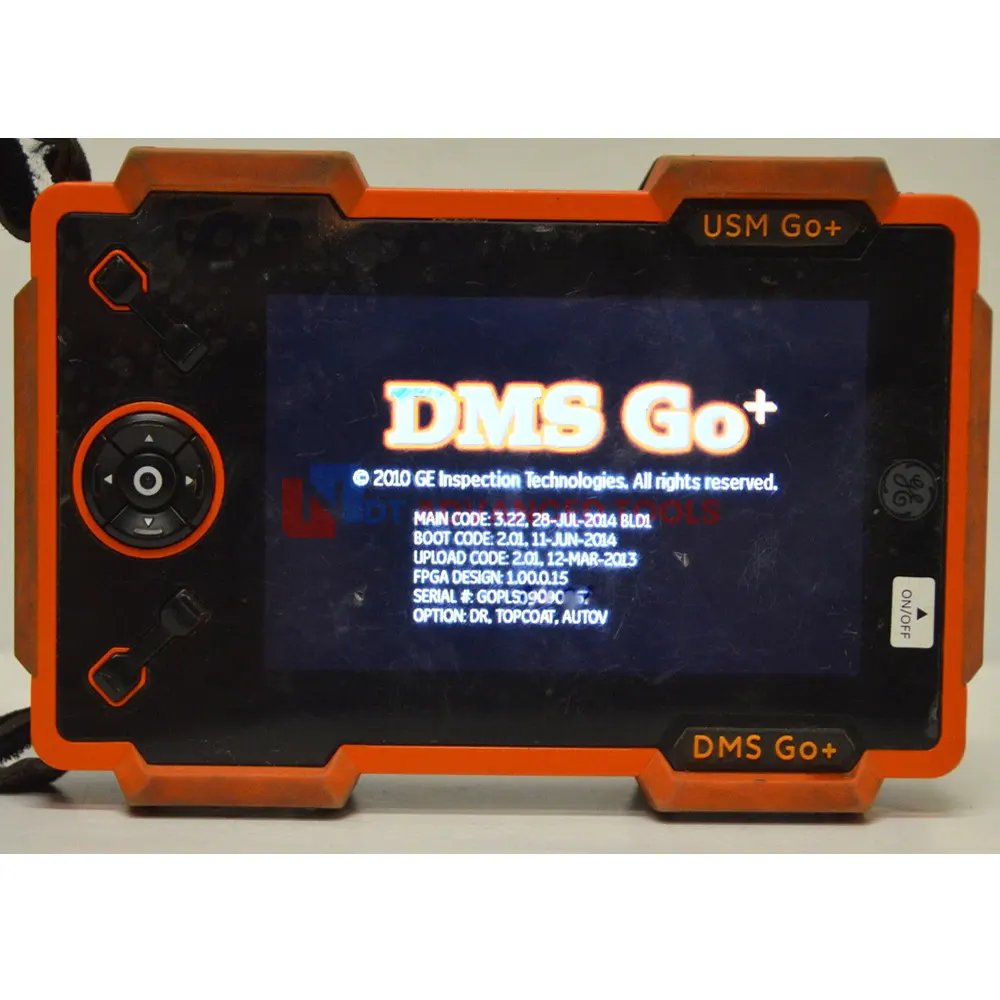
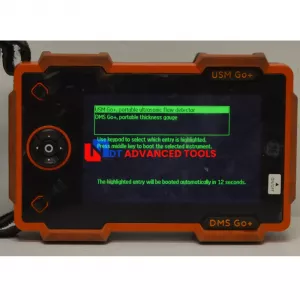
A simple software upgrade adds a comprehensive and versatile flaw detector to any of the DMS Go+ Series. The DMS Go+ Series uses the same operating platform and hardware as the state-of-the-art USM Go+ portable flaw detector. This offers the ability to have an A-scan thickness gauge and full-fledged flaw detector in one powerful & flexible instrument. Either instrument is easily selected from the boot-up screen.
A wide range of applications
The USM Go+ has been designed to provide flaw detection capability in inspection situations through-out the industrial and process spectrum, from aero-space to power generation and from the automotive sector to the oil and gas industry.
Weld Inspection:
- Trigonometric projections with curvature correction.
- AWS D1.1 sizing
- DAC/TCG
- DGS
- Color Leg
Inspection of Forgings and Castings:
- Manual PRF adjustment
- Phantom echo indicator
- DGS
- Backwall Echo Attenuator (BEA)
Inspection of rails:
- High PRF (up to 2000 Hz)
- Lightweight 850g (1.87 lb.)
- Small size and ergonomics
Inspection of Composites:
- RF Display
- 2 gates with B-start triggered with echo in gate A
- TCG correction with high slope 120 dB/ µs
- Reflector depth indicated in layer
For more demanding applications:
- Narrow band filters
- Low noise digital amplifier
- Square wave pulser
USM GO+ / DMS GO+ Specifications
|
USM GO+ |
DMS GO+ |
|
| LCD Display |
5.0 inch |
|
| LCD Active Area (W x H) |
108 × 65 mm |
|
| Resolution |
800 x 480 pixels |
|
| Protection class | IP 67 | |
| Battery | Li-Ion, rechargeable, 6 hours operation time | |
| Power adapter / charger | 100 – 240 V AC, 50/60 Hz | |
| Probe connector | Dual Lemo-00 (T/R) | |
| PC interface | Micro USB | |
| Memory card | 8GB SD Card installed, 16GB max | |
| Reporting | Test report and A-Scan screen shot on SD-Card, Video recording of A-Scan | - |
| Data recorder | - | 100.000 readings per file. Multiple files can be stored on SD card. 8 file formats. Attachment of A-Scan, B-Scan and micro grid |
| Pulser | 120 – 300 V; 30 – 500 ns; flank < 10 ns; Spike; Square wave option |
120 – 300 V; Spike wave; Automatically matched to probe |
| Puls Repetition Frequency | 15 – 2000 Hz | 4, 8 or 16 Hz selectable |
| Damping | 50 and 1000 Ohm | - |
| Measurement range | - | 0,4 – 14,000 m (0.01 – 551”) |
| Measurement techniques | - | Zero crossing. IP to 1st echo. Multi echo, TopCoat, Auto-V |
| Receiver | 110 dB dynamic, 0.51 ~ 19.6 MHz analog bandwidth | 110 dB dynamic. Automatic gain control. Manual –high, -low, -auto |
| Filter | BB; 1-5 MHz, 2,25 MHz, 4 MHz, 5 MHz, 10 MHz, 13 MHz, 15 MHz | - |
| Gates | A and B independent, B triggered by A, C option | - |
| Units |
mm, inch, µs |
|
| Digital display resolution | - | 0,01 mm or 0,1 mm (0.001” or 0.01”) selectable |
| Calibration | - | One-point. Two-point. Auto or Manual On-block and Off-block Zero. Automatic V-Path correction |
| Display mode | - | Thickness and A-Scan. Temperature corrected thickness. B-Scan. Min/Max capture. Differential |
| Software installed |
|
|
| Dimensions (W × H × D) | 175 × 111 × 50 mm | |
| Weight | 850g including battery | |
